Easy Homemade Canned Green Beans
This is the only canned green beans recipe you need! Learn how to safely can fresh green beans at home.
It’s almost summer, and soon green beans will be at their freshest and most affordable! This gives us the perfect opportunity to can green beans and enjoy their fresh taste year round.
The best way to can green beans is to use a pressure canner. This is the case for most vegetables since they are typically low-acid foods! Pressure canning is the only safe method to preserve lower-acid foods like vegetables because the temperatures in a pressure canner reach 240 degrees Fahrenheit or higher, which is the temperature at which bacteria is killed.
For context, a boiling water bath can only reach 212 degrees Fahrenheit. This is not quite hot enough to guarantee that bacteria is killed. Higher-acid vegetables like tomatoes can be safely water-bath canned if additional acid is added (like citric acid), or if the item is pickled thanks to the added vinegar.
So, if you are looking for the right way to do home food preservation for vegetables like green beans or most garden veggies, pressure canning is the way to go.
Tips for Pressure Canning
Is pressure canning new for you? If so, don’t stress! I will admit that there is a bit of a learning curve to using a pressure canner.
But, if you can commit about an hour to reading the instructions, setting your pressure canner up and giving yourself grace through your first pass, I promise that it will become second nature very quickly! I am not the best at using gadgets, but it only took one try to get the hang of mine.
When I can veggies from our garden, I use the Presto 12-Quart Electric Pressure Canner. It is a bit of an investment, but Presto makes “buy-it-for-life” products! If you need proof, I’ve been rocking the same Presto Fry Daddy (deep fryer) for over 20 years and it still works perfectly.
This pressure canner is truly fool-proof. For example, I received an error code during my first test run that alerted me to something I had forgotten when I read the instructions. It pinpointed the exact issue for me, which allowed me to quickly fix it and restart the pressure canning process.
Regardless of what pressure canner you are using, here are a few tips to remember:
- Always place your pressure canner on a stable surface that is heat resistant. It can get hot enough to cause damage to fussy surfaces like countertops.
- If you are at high altitude, you may need to adjust the pounds of pressure setting for your canner. I have provided a link to help in the notes below.
- Always follow a tested, safe recipe! My go-to resource is the So Easy to Preserve book from the University of Georgia, which is where I based this recipe from.
- Liquid is an important part of pressure canning. Make sure to follow your chosen recipe to put the right amount of water both in the jars and in the canning pot.
- Because water is such an important part of the pressure canning process, I find it most convenient to place my pressure canner in close proximity to my kitchen sink.
- Use clean, sterilized jars and rings, and new lids each time. Check your jars for cracks or chips.
Tips for Pressure Canning Green Beans
Here’s a few things I learned the hard way through many rounds of canning the green beans:
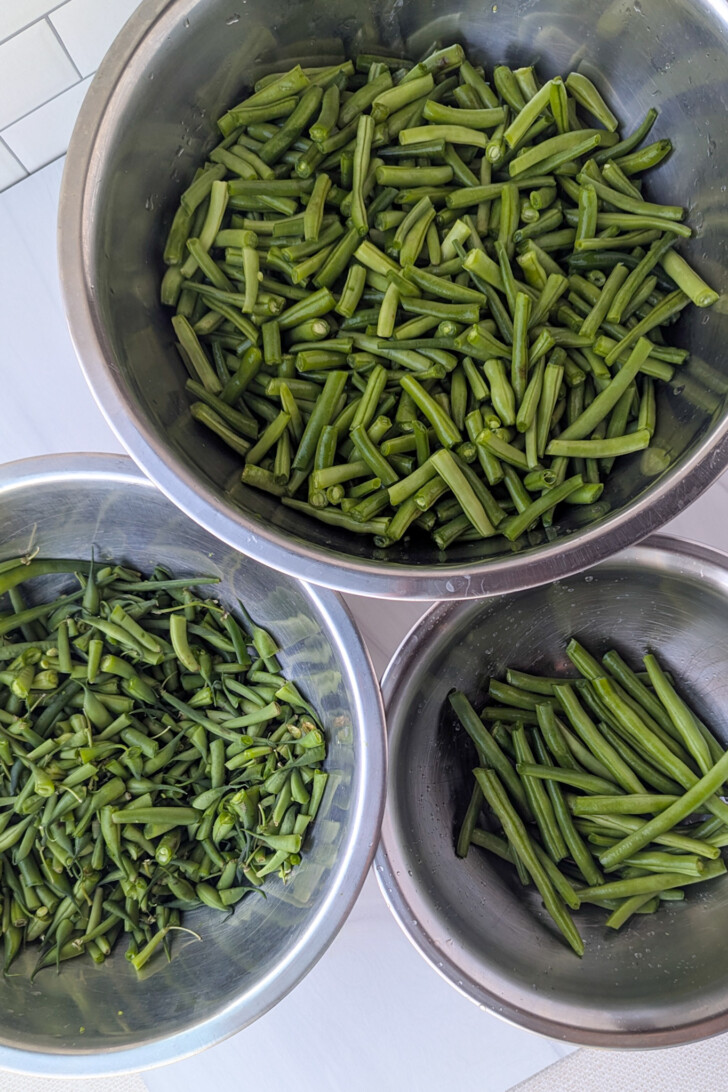
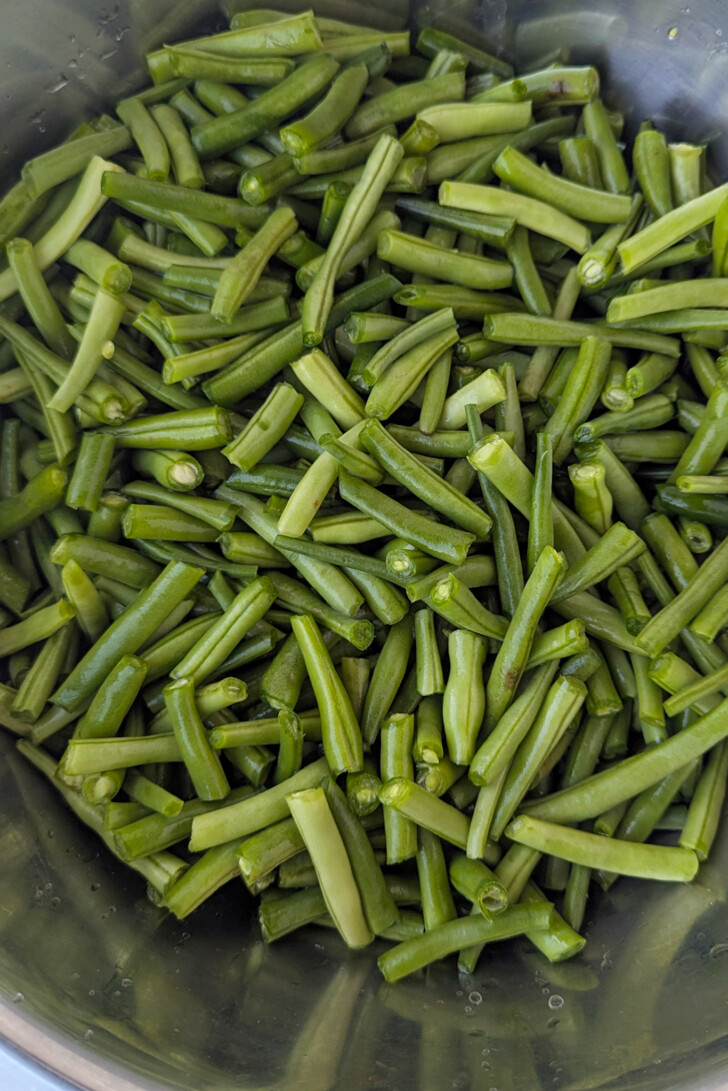
- Cutting the green beans into smaller pieces can help you pack the jars more tightly. But, the size is up to you. If you prefer a longer bean, I think it’s best to stuff the beans in vertically (up and down) to fit more.
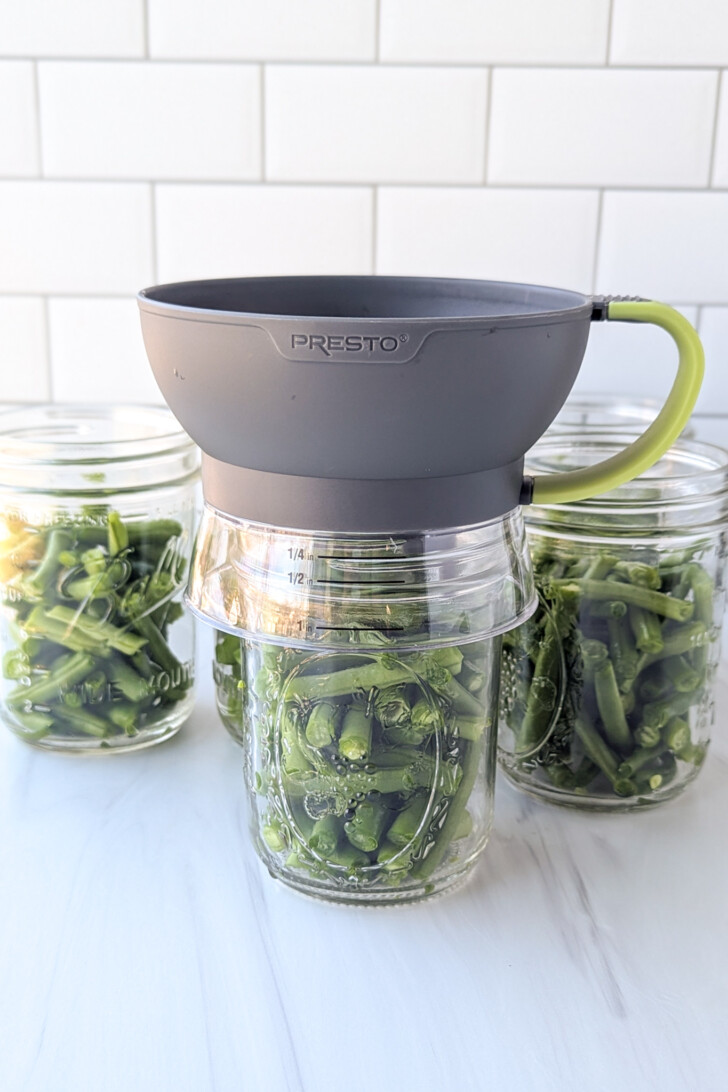
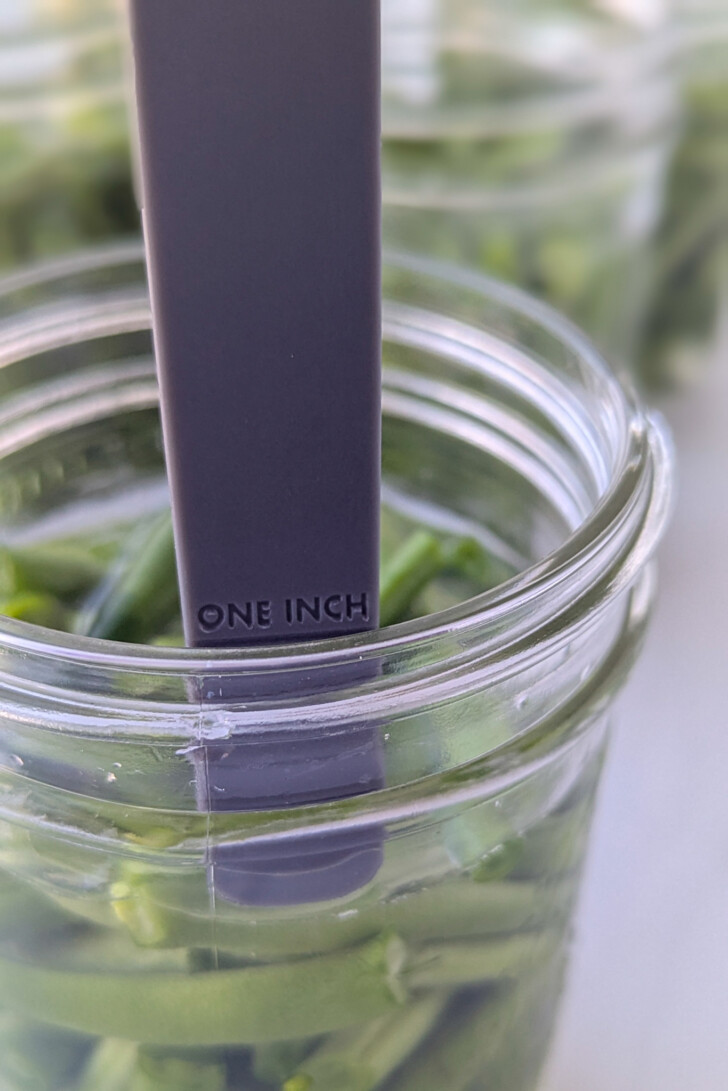
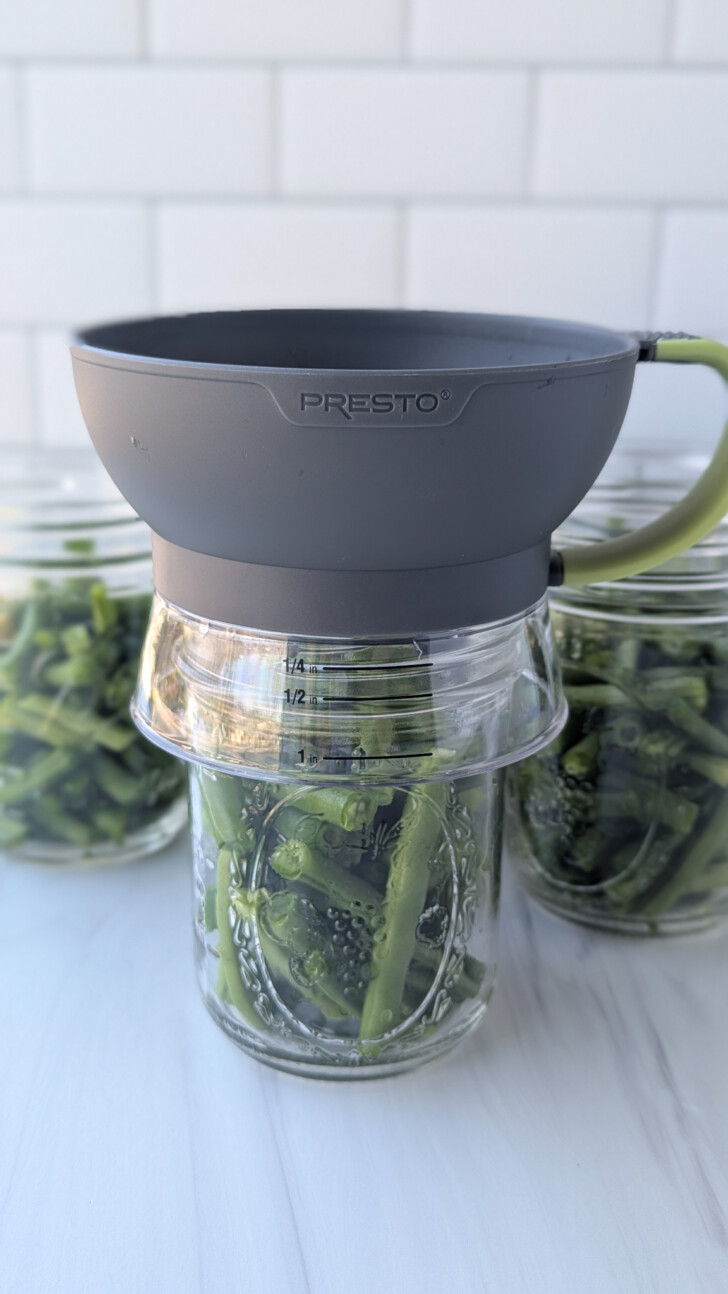
- Invest in a high quality ladle, a canning funnel, a jar lifter and a headspace measure!
- Adding salt is optional, but I do recommend it. Check the recipe card below for details.
Serving Suggestions
My favorite way to serve these homemade canned green beans is to slowly simmer them in a pot of water with diced onions, salt and black pepper. Sometimes, I choose to drain them, then quickly saute the green beans in bacon grease or butter.
But, feel free to use them the same as you would use any can of green beans! I love them in my Bacon Wrapped Green Bean Bundles (best for long-cut green beans), or this Green Bean Casserole, the perfect side-dish for a holiday dinner. As an added bonus, you can brag that you canned the beans yourself!
Storing Home-Canned Green Beans
Store completely cooled, canned green beans in a cool, dark place. Basements area great option! For best quality, I recommend using your green beans within a year of canning them. But if canned and stored properly, they can last longer than this.
I hope that your canning adventure is a success! Feel free to ask questions, and if you give this a try, I’d love to hear how it went in the comments below.
Easy Homemade Canned Green Beans
Ingredients
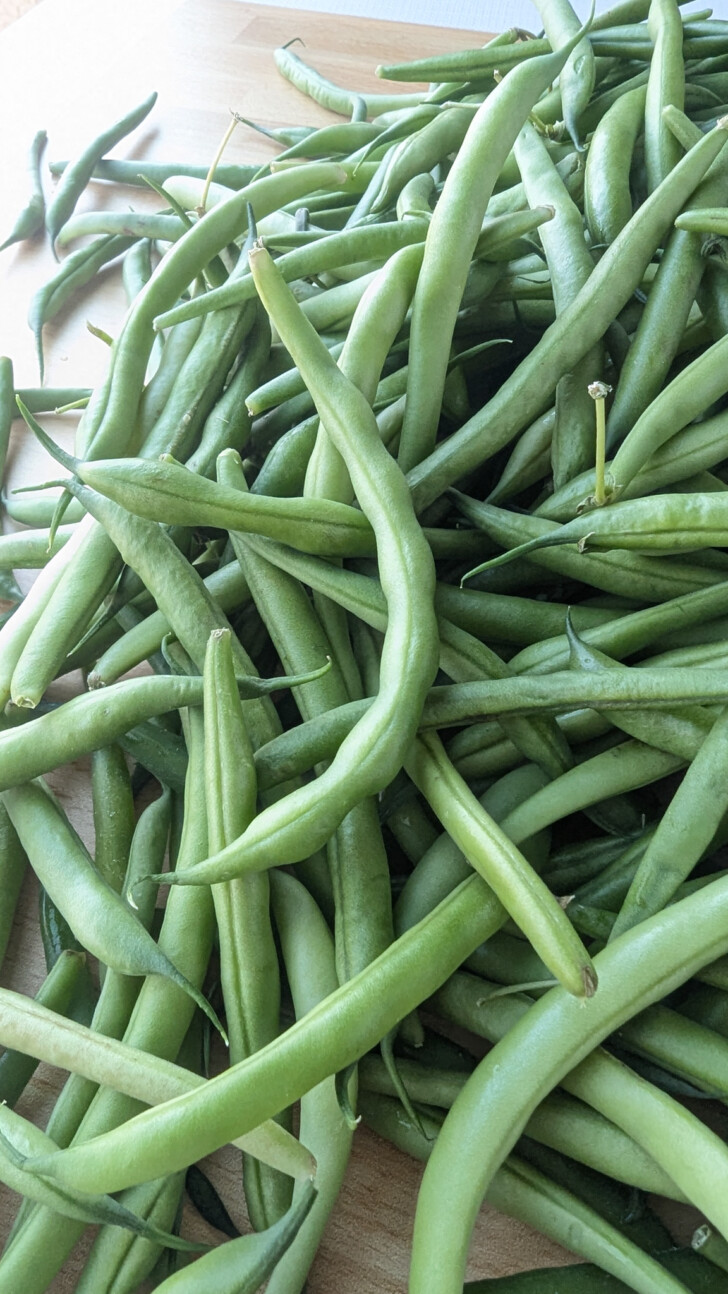
- 6 pounds green beans, fresh, rinsed, ends removed
- water, see instructions below
- salt, see instructions below
Instructions
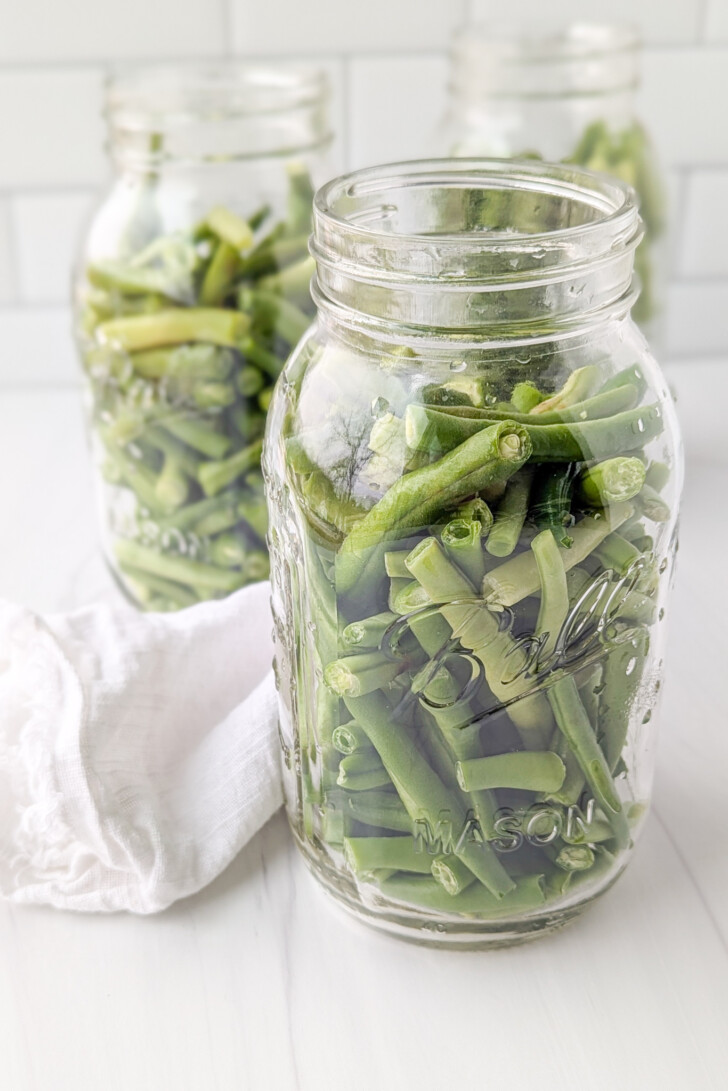
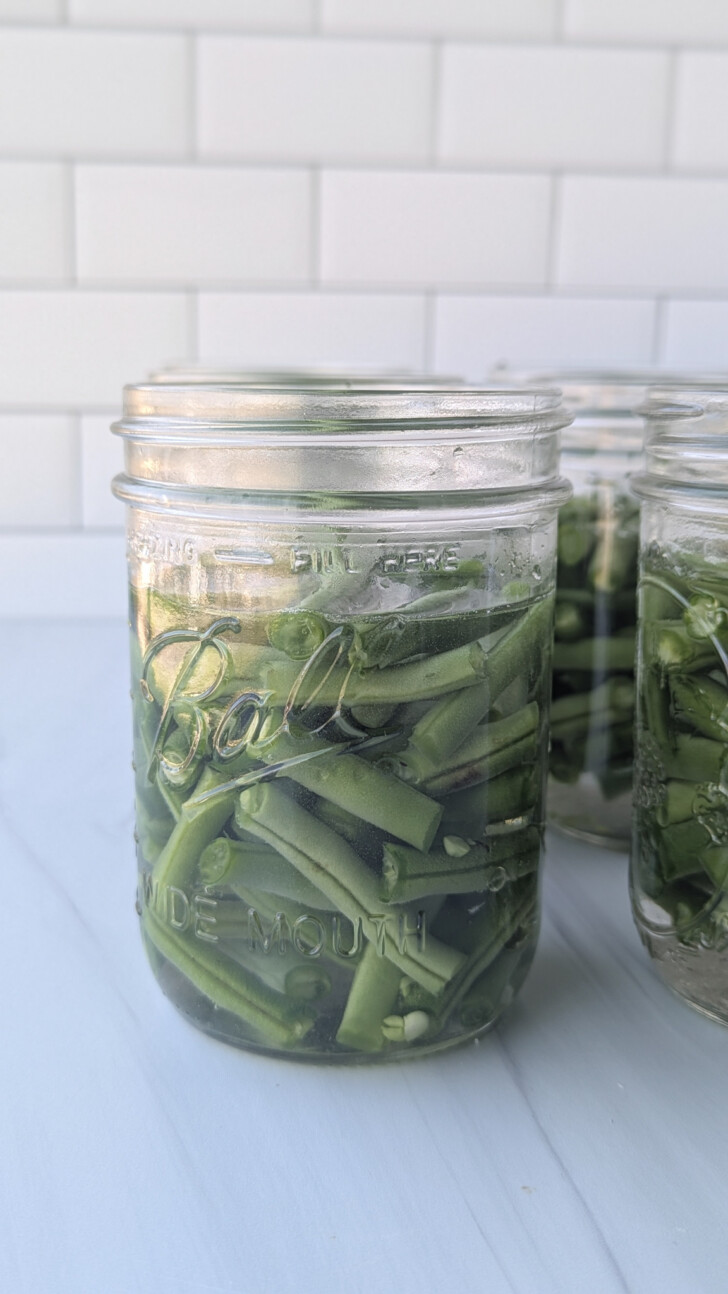
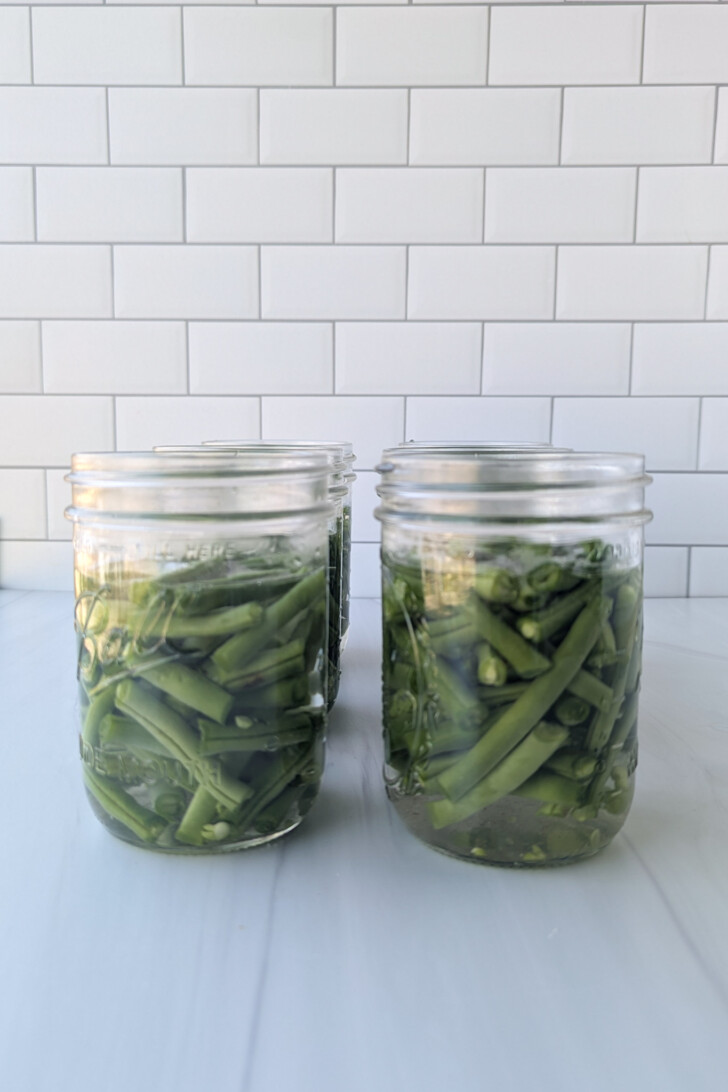
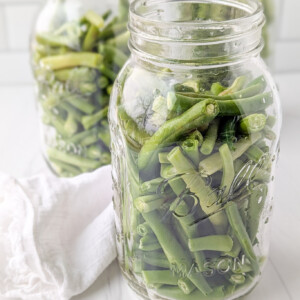
- Select fresh raw green beans with minimal bruising. To prepare, wash the green beans and trim their ends. Then, cut them into 1-2 inch pieces. You can also choose to leave them long, but you will need to use quart-sized jars or larger to accommodate the longer length.
- There are two ways to prepare and pack the green beans:Hot Pack: Boil trimmed green beans in water for 5 minutes. Pack into jars while still hot, leaving 1-inch headspace. Pour the hot cooking liquid over the beans, still maintaining a 1-inch headspace.Raw Pack: Pack raw beans into the jars, leaving a 1-inch headspace. Pour boiling water over the beans, still maintaining a 1-inch headspace.
- Add 1/2 teaspoon of salt to each pint jar, or 1 teaspoon per quart jar.
- Use a non-metallic utensil to release trapped air by gently swirling the liquid in the jars. If there is water on the rim of the jar, wipe with a paper towel or damp cloth.
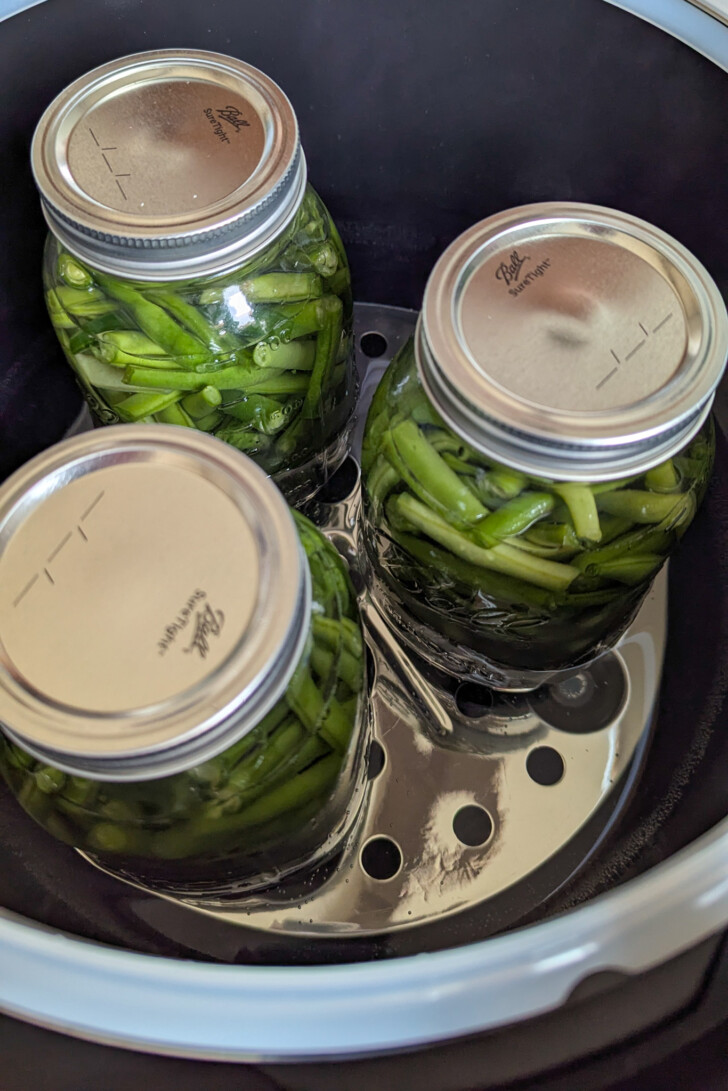
- Place filled jars in the preheated pressure canner with 2-3 inches of hot water in the canning pot. My canner has a fill line for 3-quarts in the canning pot. Be sure to check the recommended fill amount for your canner.
- Process at 11 pounds pressure (dial-gauge) or 10 pounds pressure (weighted-gauge) for 20 minutes (pint jars) and 25 minutes (quart jars).
- Allow the pressure canner to cool and return to zero pressure naturally before opening the lid.
- Remove the jars and place them on a towel to cool for 12-24 hours. The jars may be boiling hot, so put them on a surface that will not melt or damage.
- Check the seals before storing. If any jars did not successfully seal, they should be refrigerated and used within 2-3 days.