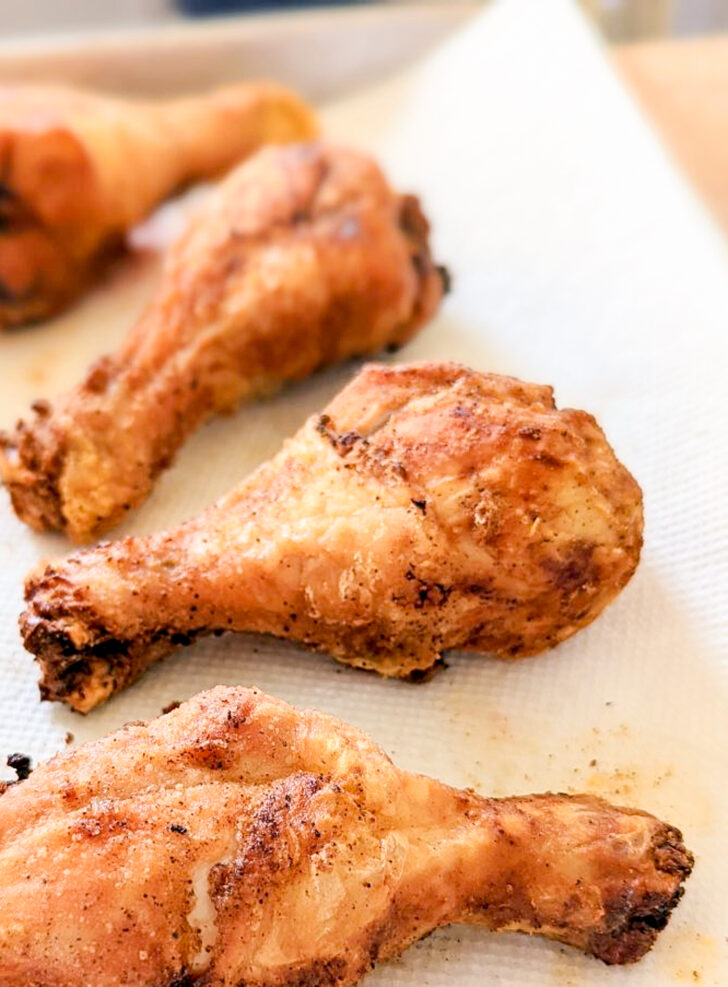
Pan Fried Chicken Legs (Perfectly Crispy and Seasoned)
We love making Pan-Fried Chicken Legs with super crispy skin! This crispy and tender chicken recipe is a total winner, no buttermilk needed.
I grew up on fried chicken as a kid! We always pan fried our chicken and kept it simple. No buttermilk, no breadcrumbs and minimal fuss. I have memories of my dad taking his electric skillet outside to fry the chicken so our house wouldn’t smell like grease! We would eat our pan-fried chicken legs with piles of mashed potatoes and this coleslaw recipe.
Fried chicken and all the fixings were always one of my favorite family meals, and often what I asked my parents to make for my birthday!
There’s a benefit to using just one cut of chicken. When you fry a whole chicken, the different pieces need drastically different fry times. These drumsticks have the same cooking time, which takes a lot of the guesswork out of it! For this recipe, I used bone-in chicken legs, but you could absolutely use bone-in, skin-on chicken thighs too.
Making fried chicken can be a chore. But making these Fried Chicken Drumsticks is a breeze!
Why Pan Fry Chicken Legs?
Well, if you don’t have a deep fryer, pan frying is the easy choice! But I like to pan fry because it’s a bit nostalgic for me, but I also like that it requires less oil. We don’t fry too much food, so I don’t like to keep large vats of oil on hand.
Deep frying is certainly quicker, but I will choose to pan fry any day for the best results and flavors!
What oil is best for pan frying?
For this recipe, you’ll need to heat the oil substantially and maintain the temperature for 30 minutes or more.
Although you may be tempted to use olive oil for its health benefits, it is not the best choice for frying due to its low smoke point.
For pan frying, I recommend using a neutral oil with a high smoke point, like peanut oil or canola oil.
Equipment Needed
For this fried chicken recipe, you’ll also need a heavy pan, and I recommend investing in a splatter screen, too. The grease that pops out of the skillet from the stove top is no joke, and the splatter screen helps keep it contained!
Serving Suggestions for Fried Chicken Legs
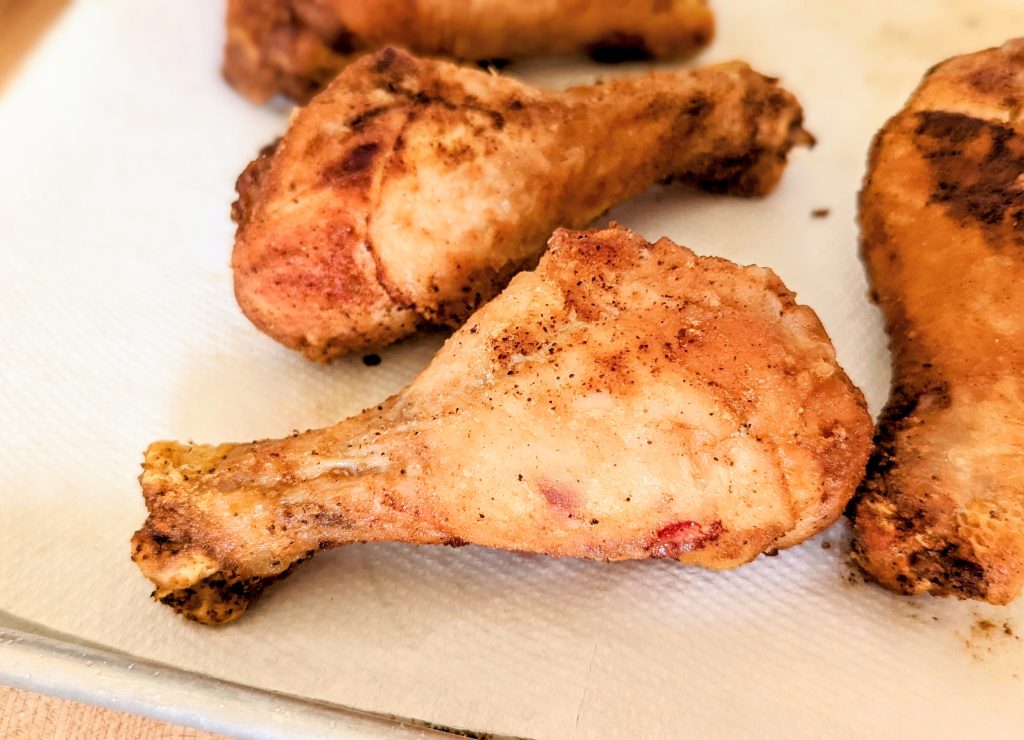
Once your chicken is fried and drains for a bit on some paper towels, it’s ready to eat! You can enjoy it plain (my favorite) with a few dashes of hot sauce or toss it in your favorite buffalo sauce or barbecue sauce. Your choice!
I like to serve fried chicken with comforting side dishes like mashed potatoes, vinegar coleslaw, stuffed collard greens, and green beans.
For dessert, consider making Chocolate Chess Pie or my Easy Blackberry Dump Cake.
If you need more ideas, check out this list of sides for fried chicken!
Storing Leftover Fried Chicken
Once fried, you can keep your chicken legs warm in the oven, covered in aluminum foil until ready to eat.
To store in the fridge, place in an airtight container for up to 3 days. Fried chicken is best reheated in the oven. Place on a baking sheet and bake for 10-15 minutes at 325 degrees Fahrenheit, until heated through.
The air fryer is also a wonderful way to re-heat leftover chicken drumsticks and crisp the skin back up.
I hope that you enjoy this pan-fried chicken recipe! If you make it, I’d love to hear how it went in the comments below.

Pan Fried Chicken Legs
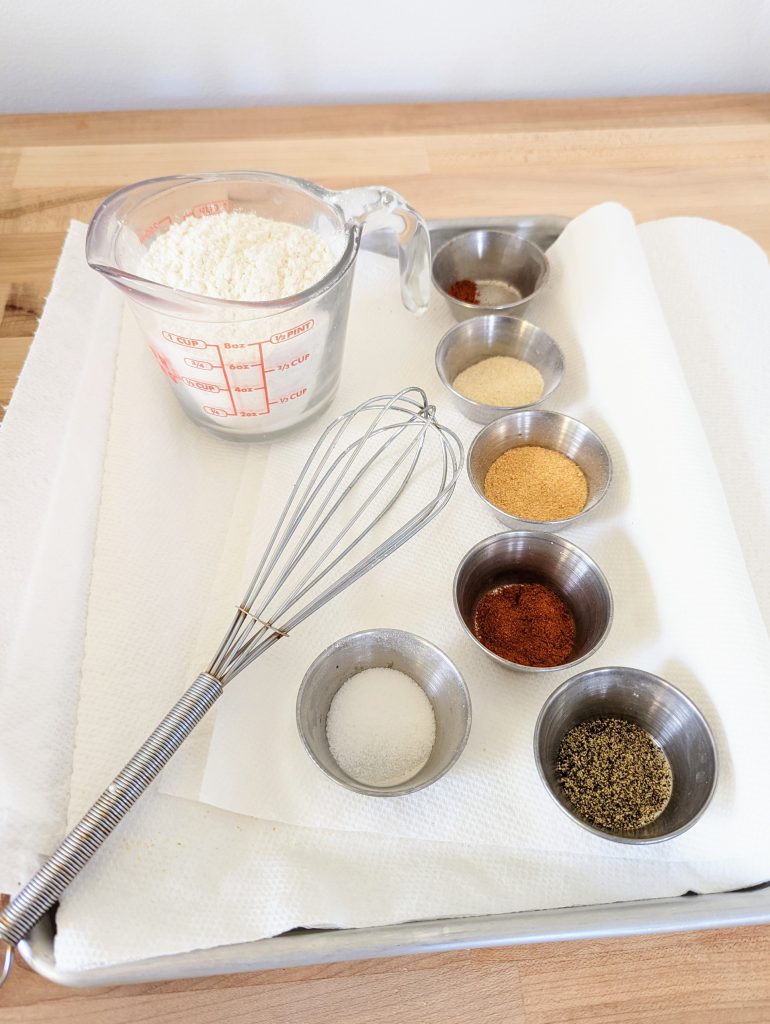
Ingredients
- 2 pounds chicken legs, drumsticks
- 1 cup flour
- 2 teaspoons garlic powder
- 1 teaspoon onion powder
- 1 teaspoon paprika
- 1/2 teaspoon black pepper
- 1/4 teaspoon salt
- 1/4 teaspoon chili powder
- 1.5 cups vegetable oil, for frying
Instructions
- Bring the chicken pieces out of the refrigerator and allow to rest on the counter for 20 minutes to remove the chill and bring the chicken closer to room temperature.
- To a cast iron pan, Dutch oven or non-stick 12-inch skillet, add oil. Heat oil over medium-high heat to the temperature of 325 degrees Fahrenheit.
- Prepare the chicken legs by thoroughly patting dry with paper towels.
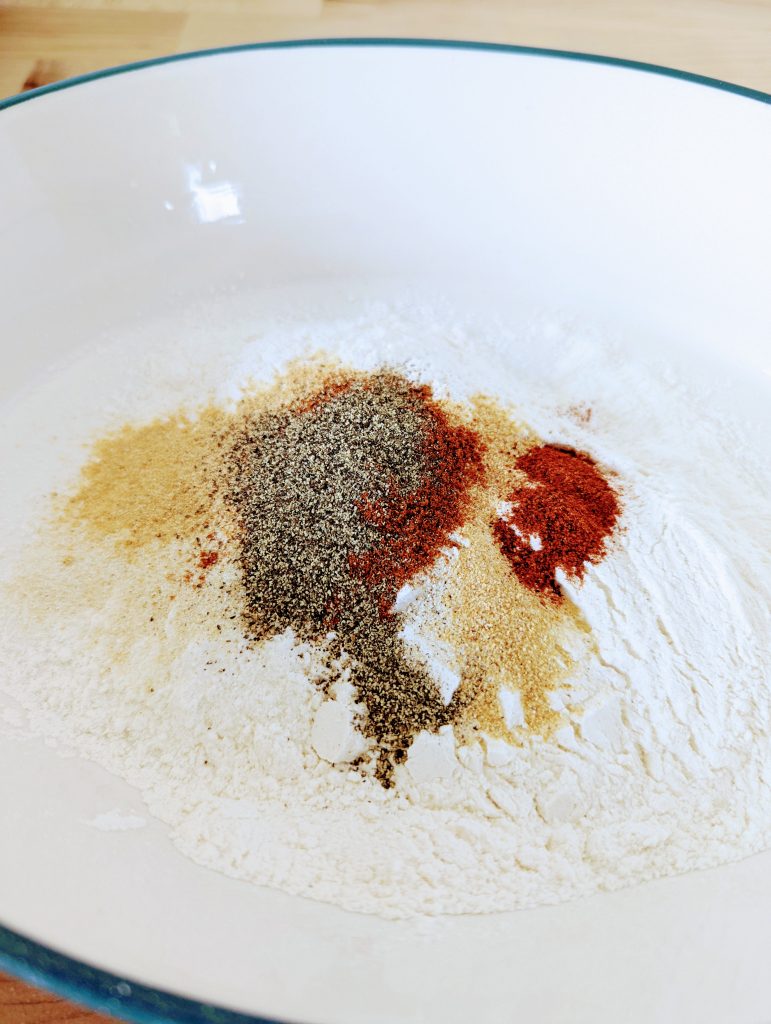
- In a large bowl or large Ziploc bag mix together the dry ingredients; flour, garlic powder, onion powder, black pepper, chili powder and paprika.
- Dip chicken into seasoned flour mixture and roll to coat.
- Lay each chicken leg carefully down into the hot oil using tongs.
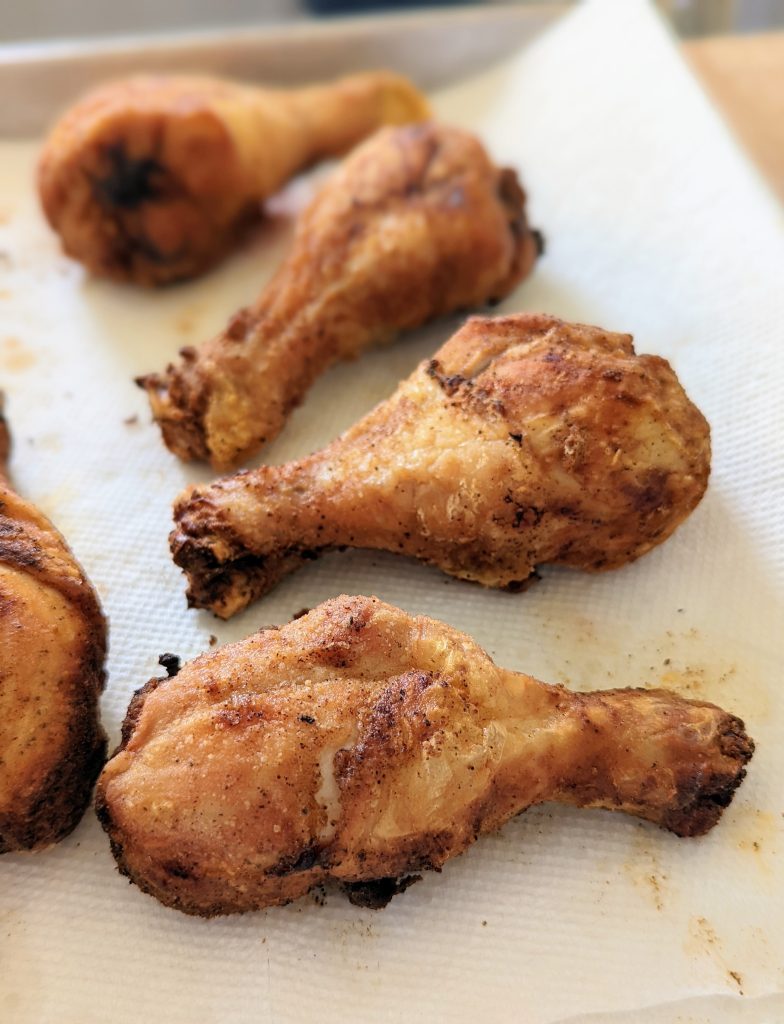
- Let the chicken cook, flipping every 3-4 minutes, for 10-12 minutes or until the thickest part of the chicken registers 165 degrees Fahrenheit, and the outside of the chicken legs are golden brown. Depending on the size of the chicken legs, you may need a little more or less time.
- Remove chicken from oil and and allow to rest on a paper-towel lined plate for about 5 minutes to drain any excess oil and cool slightly before eating.
I just tried this and it was nice and crispy. I had to modify the recipe because I only cook two chicken.
Very tasty and would cook it again.
Thanks for taking the time to leave a review, Tom! I’m glad it turned out great for you.
I can hardly wait to try this recipe. I’m making it for dinner tonight.
The amount indicated for salt is too low. Needs to be at least 4 times as much; or lightly salt each chicken piece after drying, before rolling in the dry mixture. All else perfect.
Add a tsp of cayenne pepper to the dry ingredient mix for a little zing.
After you’re done cooking, DO NOT discard your used oil in the kitchen sink. Instead, use Fry-away powder in the hot oil to solidify, then later, after it’s cooled, throw it away like a piece of rubber.
Thanks for the feedback Alan! I like it salty too. Great tips on the remaining oil! I haven’t ever used Fry-away but will try it. We have a big coffee tin we use for leftover grease!
What is your suggested reheat method for leftover pan fried chicken legs? This recipe was perfect. Would love to have the same crispiness on the reheat also. Thanks. Margaret
I’m so glad you liked it Margaret! I think the best way to get it crispy again (without re-frying, which is always an option), is to either heat it back up in the air fryer for a few minutes,or put it on a sheet pan in the oven! I usually set it in the oven, then set to to preheat to 350. By the time it’s pre-heated, it’s warmed through. I hope this helps!
My husband is a picky eater; he is southern and grew up on fried chicken every Sunday. He doesn’t like anything too crispy or hard because it hurts his mouth. I don’t often fry chicken, but I thought I’d try this recipe even though I was a little worried it might be too spicy for him. I was surprised when he told me how much he liked it! He said it was the right amount of spice! Yay! This is how I will be frying my chicken from now on. Thank you.
Teresa, you absolutely made my Monday. Thank you so much for trying this recipe and leaving such a sweet note! 🙂
I have struggled with making fried chicken in the past. It’s either burnt on the outside and undercooked inside but this recipe has changed my chicken frying game! Chicken was cooked on the inside as well as moist along with super crispy on the outside. I will keep this recipe handy.
Heather I am so glad this turned out great for you! I agree that fried chicken can be tricky. I think frying just one cut (like all drumsticks) does help.
This is a delicious recipe. I love the coating. There’s just enough to be crispy, but not so much that it becomes overpowering. I’ll be making this again.
Thank you Beth! I agree, the crispy skin is “just right” for me! I like it a lot more than the heavily breaded deep-fried chicken!
OMG, as a black man I have to tell you this chicken was FIRE!! The chicken was so crisp and fresh and did not feel too greasy at all. I did the cannoli oil for frying. They did fresh corn and green peas. Looking forward to trying some more of your dishes. THANK YOU. I was so tired by baking chicken, and this is my new go too.
Lance, you totally made my day. So glad the fried chicken turned out for you! This is just how I like it…. don’t love the huge breading on a lot of the deep fried chicken!
I made the Pan Fried Chicken Legs for dinner last night, and it was fantastic! The chicken was perfectly crispy on the outside and juicy on the inside. Easy to make.
So glad it turned out for you Bonnie! We really like it.
I love that you don’t need buttermilk for this recipe, it’s one of the only ones I found that didn’t need it and I did not have any! Still turned out great thank you.
Glad it worked for you! Thanks for letting me know.