
Easy Homemade Canned Corn
This is the only canned corn recipe you need! Learn how to safely can fresh summer sweet corn at home.
It’s almost summer, and soon we will be blessed with the sweet flavor of fresh, Midwestern-grown corn! Growing up, my Dad had about a half-acre garden, and he grew sweet corn for us every year. I am certainly not able to do that on our small suburban lot today. But, I am lucky enough that a local farmer pulls up to our neighborhood with trailer loads of fresh sweet corn each summer. I buy corn from him each year, and preserve it so we can enjoy the fresh taste all year round!
The safest way to can corn is to use a pressure canner. This is the case for most vegetables since they are low-acid foods! Pressure canning is the only safe method to preserve these lower-acid foods because the temperatures in a pressure canner reach 240 degrees Fahrenheit or higher, which is the temperature at which bacteria is killed.
For context, a boiling water bath can only reach 212 degrees Fahrenheit. This is not quite hot enough to guarantee that bacteria is killed. Higher-acid items like salsa can be safely water-bath canned if additional acidity is added (like citric acid), but that is not the case for corn!
If you are looking for the right way to do home food preservation for vegetables like corn or most garden veggies, pressure canning is it!
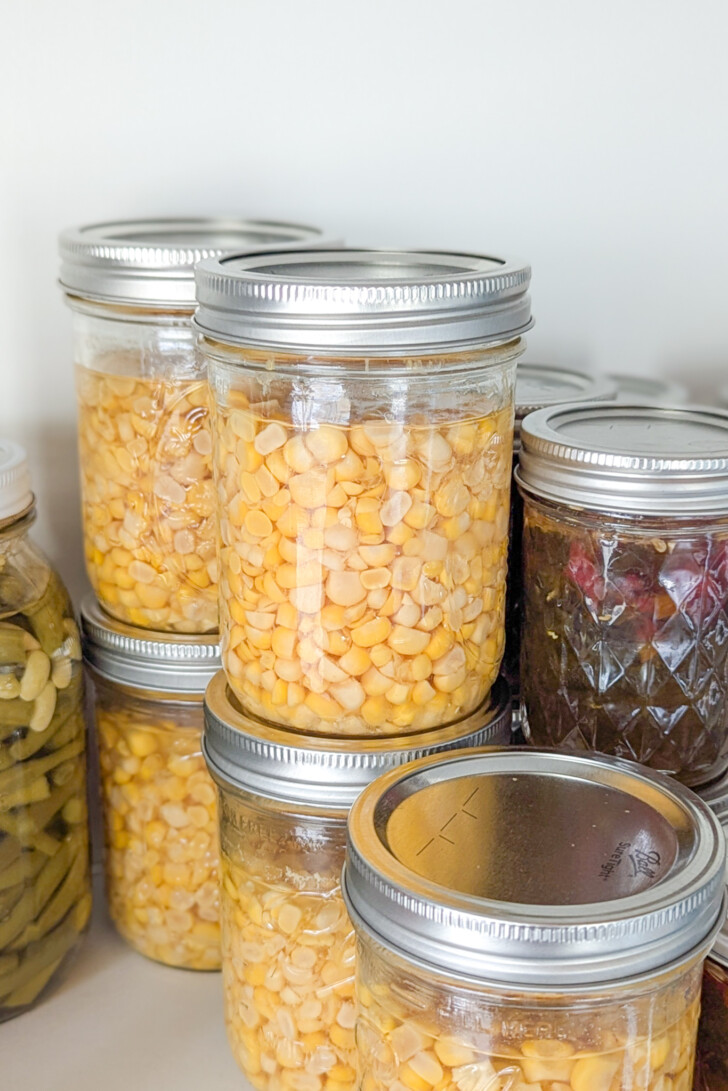
Tips for Pressure Canning
Is pressure canning new for you? I was somewhat forced into it in recent years when we started to buy a quarter beef each year, which made freezer space precious!
While there is a little bit of a learning curve to learning how to pressure can, I promise that once you figure it out, it’s smooth sailing from there!
Expect about 1-2 hours to work through the instructions, wash all of the components, and attempt your first test run. It may not go smoothly the first time, which is why I recommend giving yourself some extra time.
When I can veggies from our garden, I use this Presto 12-Quart Electric Pressure Canner. Presto makes “buy-it-for-life” products, and I love to support another Midwestern based business.
Regardless of what pressure canner you are using, here are a few tips to remember:
- Always place your pressure canner on a stable surface that is heat resistant to make sure it doesn’t damage the surface it rests on.
- If you are at high altitude, you may need to adjust the pounds of pressure setting for your canner. I have provided a link to help in the notes below.
- When preserving any food, always follow a tested, safe recipe! My go-to resource is the So Easy to Preserve book from the University of Georgia.
- Liquid is an important part of pressure canning. Make sure to follow your chosen recipe to put the right amount of water both in the jars and in the canning pot.
- I like to place my pressure canner between my stovetop and kitchen sink to make sure I have easy access to both.
- Glass jars are the original recyclable packaging! Remember to always use clean, sterilized jars and rings, and purchase new lids each time. And, always check your jars for cracks or chips.
Tips for the Best Canned Corn
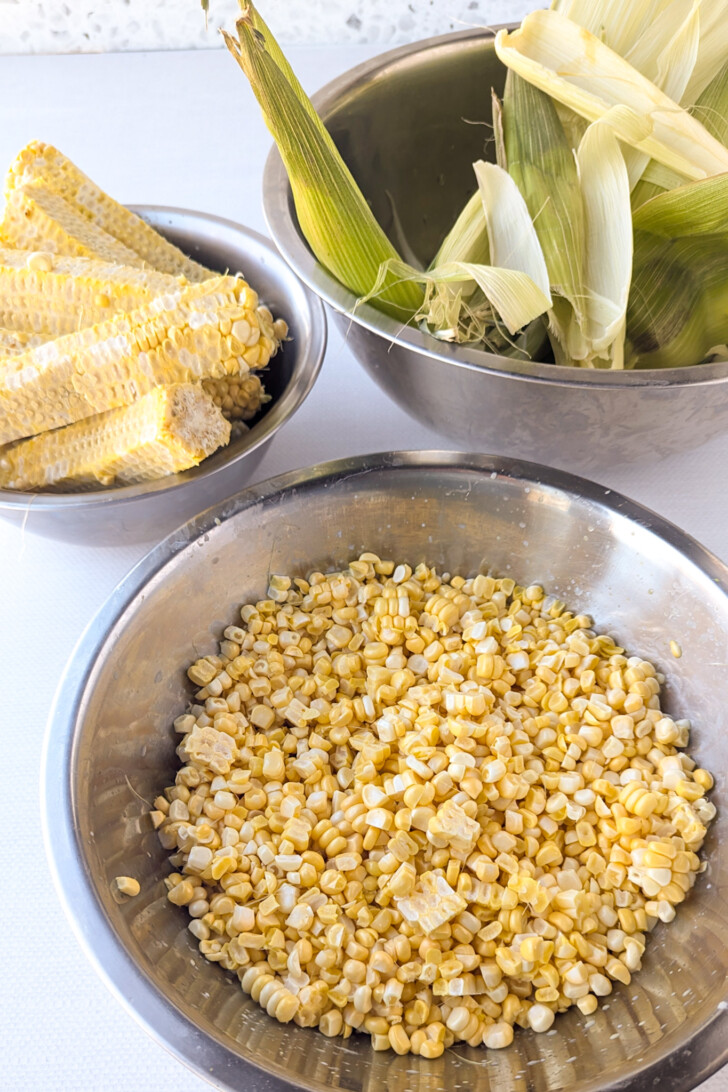
- Shucking corn takes time! I like to do it outside since it is messy. I typically have a 5-gallon bucket to place waste in. The husks and silks go into the bucket, and the cleaned ears go into a large stainless steel bowl that I later take inside.
- Recruit friends and family to clean the corn. They can even be working to clean it while you are processing the batches! I love a good assembly line when I’m canning.
- I recommend using the hot pack method for corn, which is what is included in the recipe instructions below. I have found that the cold pack method leaves a bit too much starch, and the hot pack method gives me a better texture.
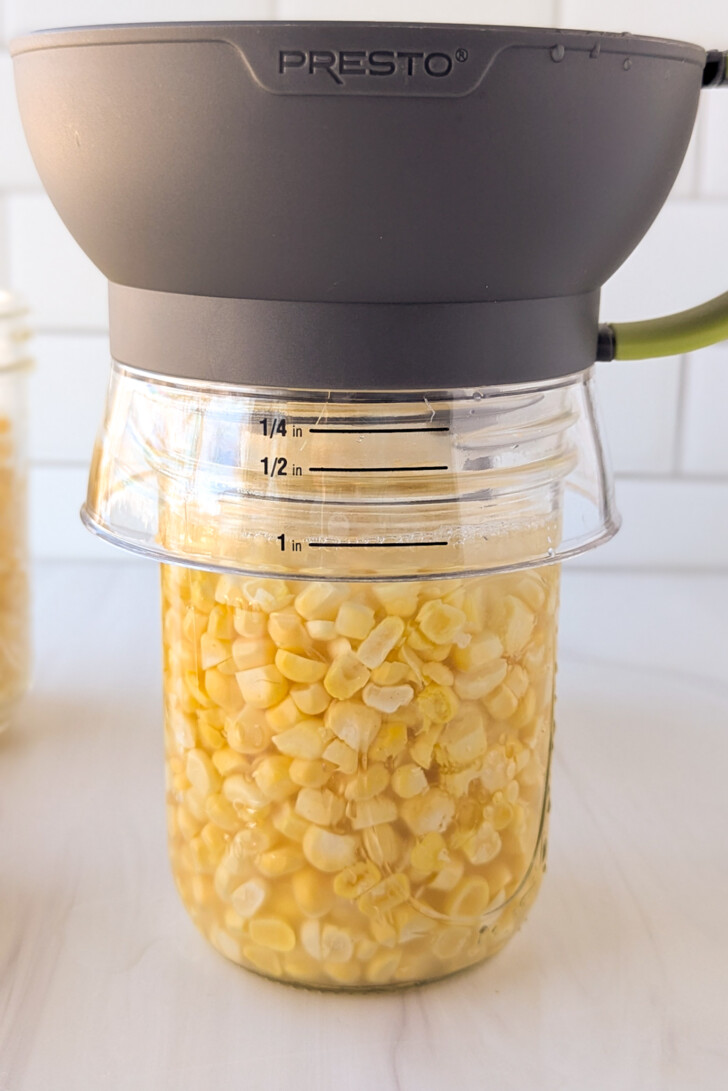
- Invest in a high quality ladle, a canning funnel, a jar lifter and a headspace measure!
- Adding salt is optional, but I do recommend it. Check the recipe card below for details.
- When choosing your corn, you actually want to choose corn that is a little less ripe than what you’d pick to eat immediately. Super sweet corn, or mature (almost bad) corn can leave you with browned kernels once canned.
- You will need 3-4 ears of corn for each pint jar you plan to process, and 7-8 ears for each quart jar. The length and width of the ears can factor into this. I prefer to overbuy, knowing that if I have more corn than I have clean jars, I can just enjoy grilled corn on the cob for dinner!
- I know that it is tempting to make additions like hot sauce, honey or fresh herbs when you’re canning. But, that can keep your corn from preserving safely. Add them when preparing the canned corn for dinner! If you want to make additions like this while preserving, I recommend doing this freezer corn process instead of canning.
Serving Suggestions
You can always keep it simple, and slowly simmer your canned corn with a bit of butter and salt, and serve it as a side dish!
You can also use this the same way you’d use any can of whole kernel corn in a recipe! Try making homemade cream corn, Dutch Oven 7 Can Soup, add to Alabama Cobb Salad, salsa with fresh peppers or Cowboy Caviar.
If you need recipe ideas, I recommend Creamy Corn Casserole or Crab and Corn Chowder.
Storing Home-Canned Golden Corn
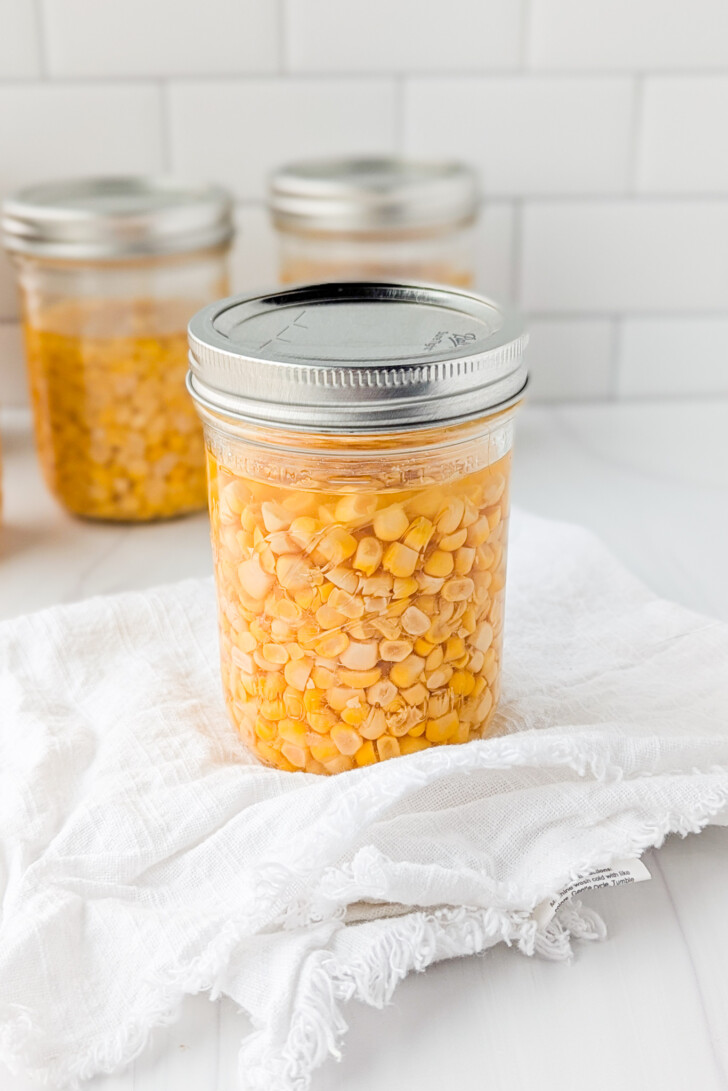
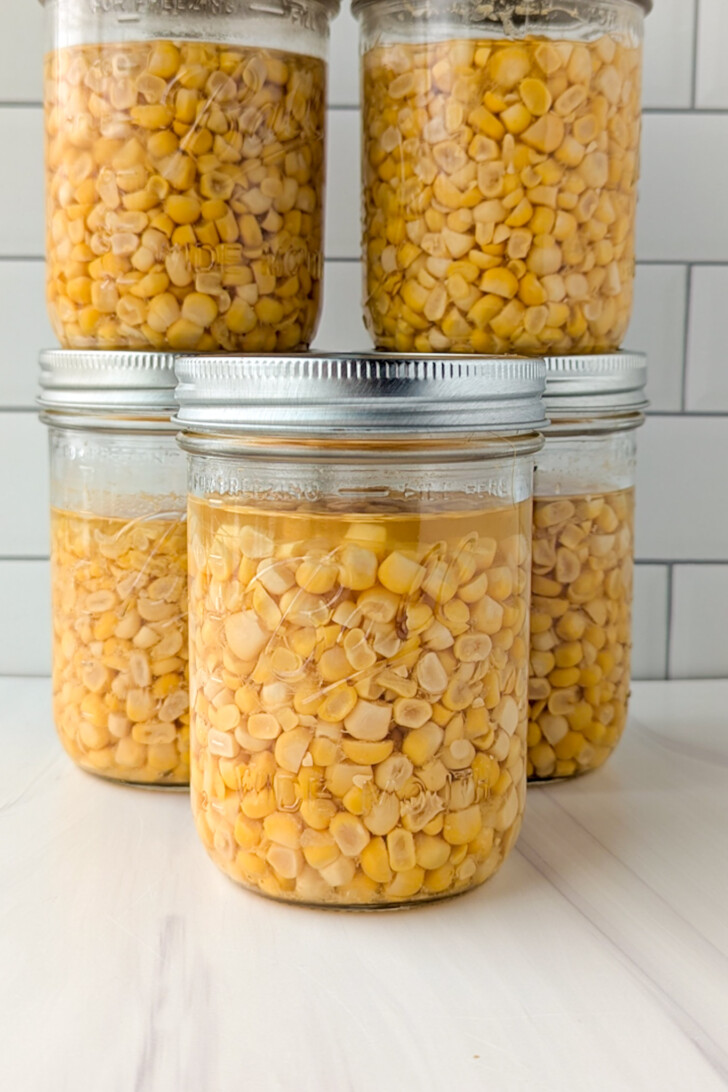
Store completely cooled, canned jars of corn in a cool, dark place. Basements can be a great option for storing your canned goods.
For best quality, I recommend using your canned sweet corn within a year of canning it. If canned and stored properly, it can and will last longer than a year.
I hope this gives you the confidence to try pressuring canning corn at home! Let me know if you give it a try, and how it went in the comments below.
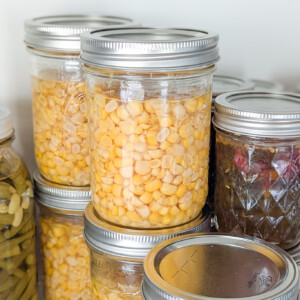
Easy Homemade Canned Corn
Ingredients
- 24 ears sweet corn, fresh
- water
- salt
Instructions
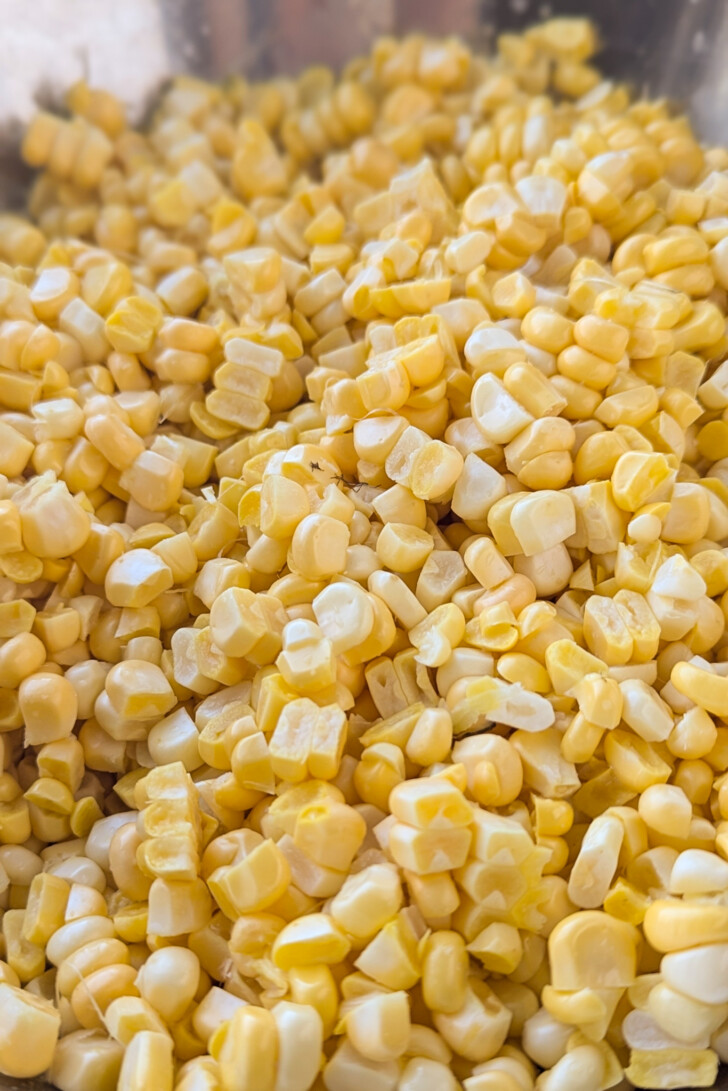
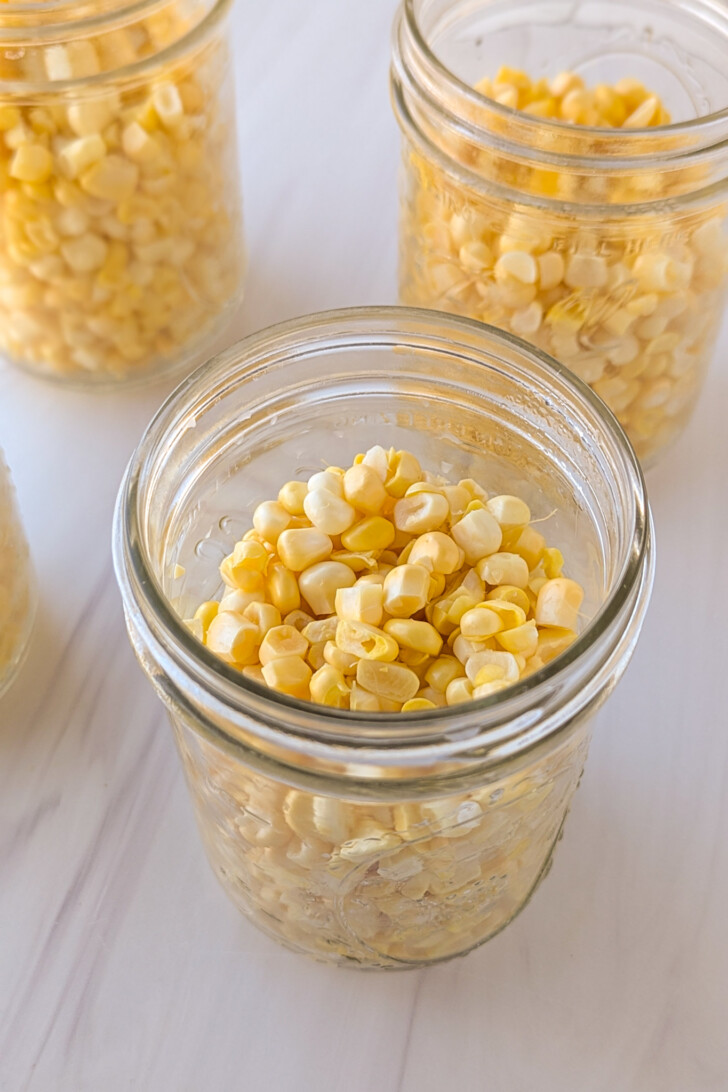
- To prepare the corn, remove the shucks and corn silks. Wash each ear of corn, then cut corn from the cob at about 3/4ths the full depth of the kernel. I like to do this in a casserole dish to catch the kernels as they drop. Do not scrape the cob after removing the kernels.
- In a large stockpot, add 1 cup of hot tap water for each 4 cups of corn kernels you have to process. Bring to a boil, then reduce to low-medium heat and simmer for 5 minutes. Strain the kernels in a colander, reserving the hot liquid.
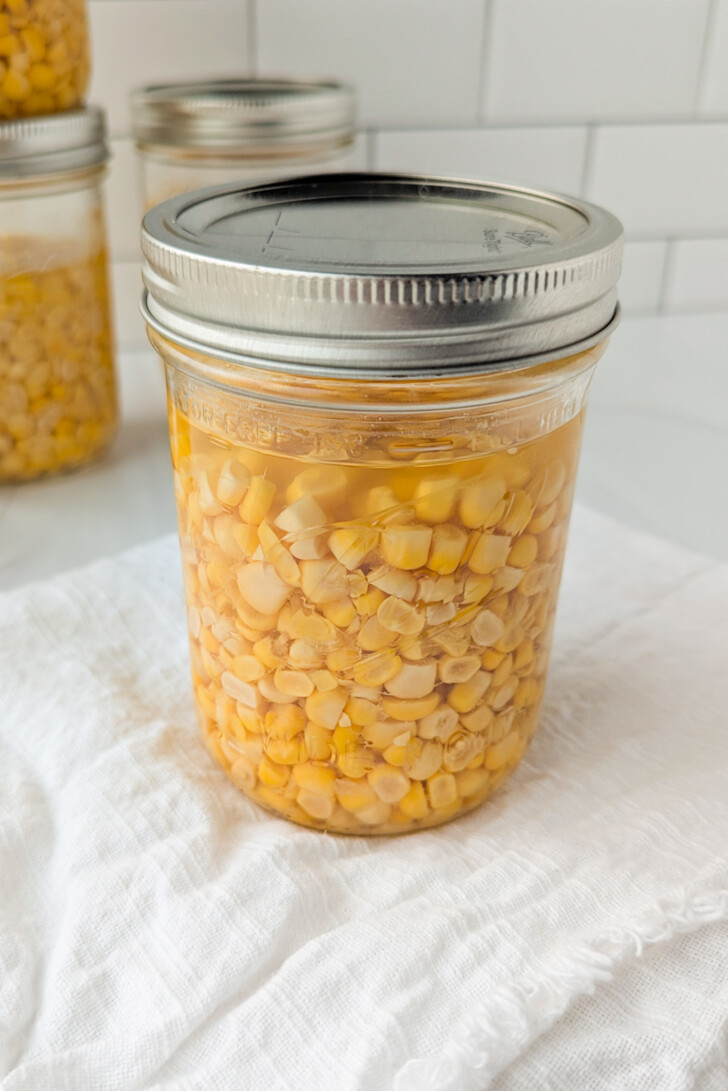
- To each jar, add the kernels while still hot, leaving a 1-inch headspace. Pour the hot cooking liquid over the kernels, maintaining a 1-inch headspace.
- Add 1/2 teaspoon of salt to each pint jar, or 1 teaspoon per quart jar (optional).
- Use a non-metallic utensil to release trapped air by gently swirling the liquid in the jars. If there is water on the rim of the jar, wipe with a paper towel or damp cloth.
- Place filled jars in the preheated pressure canner with 2-3 inches of hot water in the canning pot. My canner has a fill line for 3-quarts in the canning pot. Be sure to check the recommended fill amount for your canner.
- Process at 11 pounds pressure (dial-gauge) or 10 pounds pressure (weighted-gauge) for 55 minutes (pint jars) or 85 minutes (quart jars).
- Allow the pressure canner to cool and return to zero pressure naturally before opening the lid.
- Remove the jars and place them on a towel to cool for 12-24 hours.
- Check the seals before storing. If any jars did not successfully seal, refrigerate and use them within 2-3 days.